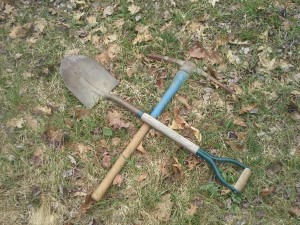
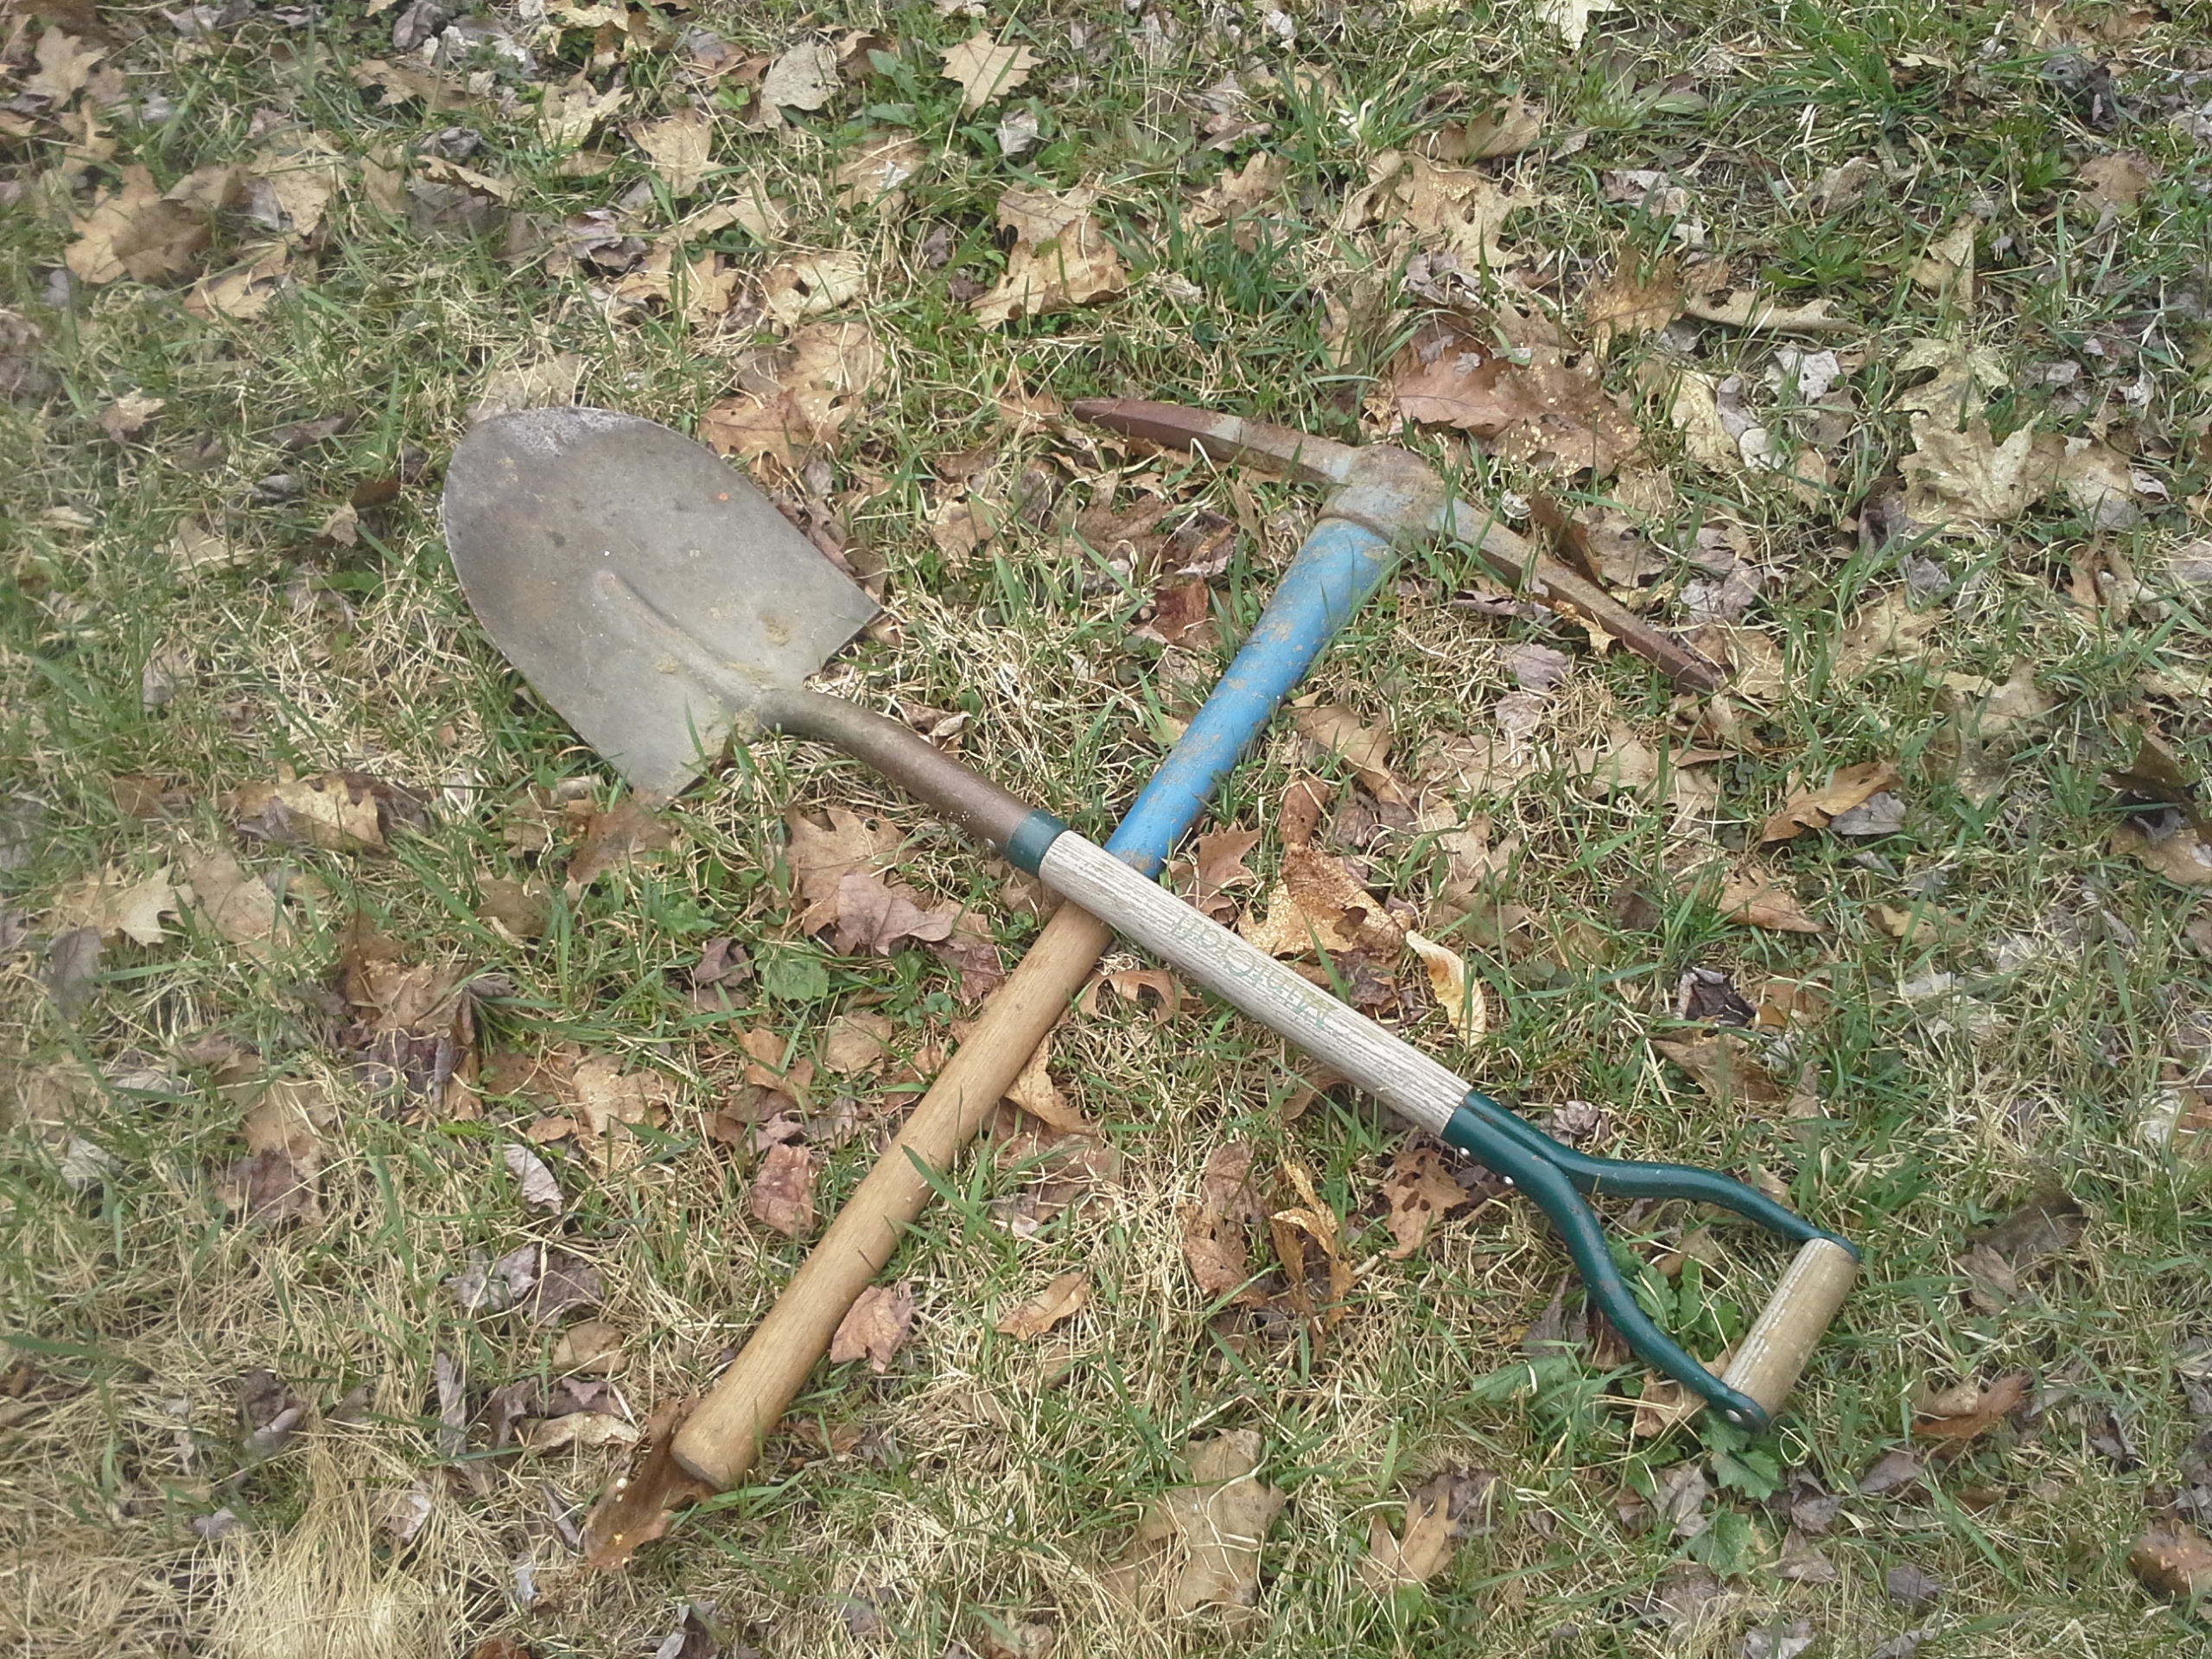
Gardener’s Journal Hardcover – Record Your Gardening Ideas

Gardener's Journal Hardcover Picture

Gardeners Journal HC 3Gardeners Journal HC 2Hard Cover Gardener's Journal

Keep a journal filled with your own garden musings, writings, observations and sketches. On each page is a quote about gardens and gardening, giving you something to ponder as you exercise your green thumbs writing about your own adventures in horticulture. It’s a great way to keep track of your gardening trials and triumphs, a journal about your garden in it’s own book makes a great reference. Keep track of your plots, scrapbook, add your findings over the summer to the back of the book for next season’s garden or write them down as you go along. You and your family will enjoy looking through it and remember the recipes you made with the food you grew, marvel at the pictures you saved of the arrangements that graced the table.

Available at Lulu.com


Tagged with: ,

Preserving Your Herbs for Winter

Some great information from GrowVeg.com to help you carry the flavors of your garden through the winter.  Herbs have always been an afterthought for me, usually surfacing after the first frost when I remember I’d planted some basil or other herbs next to the now dead tomatoes.  Hope to create distinct patches next year of my favorites so I don’t forget them!

Potato Rings

Ring of potato plants ready to be harvested

First Ring of Potatoes 2015

Try as I might, I’ve never actually filled these 18″ potato rings to the top. Either I have other uses for the yard clippings or get sidetracked, but this year I did fill them to 8″.  With four plants in each, they were each filled with green grass clippings, then some wood chips for carbon, some soil when I’d used up the clippings elsewhere, then finally another batch of clippings. Each time you add clippings, within three to four weeks they compact down and start to compost, ending up 1/3 or less of their height by the end of the season. Keeping a supply of nutrient rich materials under a plastic tarp or in another container may be the solution when I use the rings again next year.  The original idea was to stack a second ring on top of the first when the plants and compost got high enough, but I abandoned that idea for now since I can’t seem to fill them over a season.

Vowing to do at least something in the garden every day, I noticed one of the rings had died back,

10-12 lbs potatoes from one 2.5ft ring

Yield from Potato Ring #1

meaning it was time to get in and harvest before the other creatures decided it was time to stock up on the starches.  Lifting the ring, several good sized spuds toppled out, with many more underneath. About 10-12 lbs from the 2-1/2 foot ring – and that was the one that gave up the ghost early.  If it’s not pouring rain out tomorrow I may go for another one to see how it faired.

I was able to get a couple of canvas sacks from our local “Elbow Room Coffee” roaster for free (I go there when I can – can’t beat her coffee and I drive over 100 miles a day, so she’s that good!). Next year, along with the rings, a sack of potatoes with three or four stakes to hold it up will be competing in one of my garden beds.  Perhaps the overgrown strawberry bed will be their home in 2016.

Tagged with:

Bag o’ Soil and Manure Hack

Bag of manure with x's cut into it

Cut X’s in the bottom for drainage, but not so much the bag breaks. 

This is an experiment I’ve been wanting to try for years. Better for the spring and for one large or two cherry tomatoes, using a couple of bags of gardening material stacked on top of each other (potting soil on top, the “good stuff” underneath). NOTE: the bag of manure is COMPOSTED MANURE – it’s got an NPK of 1-1-1 so it shouldn’t burn the roots.

Pros:

  • easy to set up
  • contained
  • saves water
  • 4-6+” of material for roots to grow in plus the ground below (depending on how thick the bags are)
Bag of manure with x's now on the bottom, cut the top away, leaving the sides intact.

Turn over the manure bag and position it. Cut around the top

Cons:

  • Ugly…
  • expensive (in the long run)

If you were to set up a whole row of these, say a 4 ft. by 20 ft, it would cost you $880! The two bags cost all of $11 + seeds (had some left over so it was $0 for me).

Cut the holes in the top according to the spacing of the crop you’re going to grow in the bags. More for something like leaf lettuce (or just make slits instead), less for broccoli, bok choy, etc.

When you’ve harvested your crop, you can either plant again or incorporate it into the soil, recycling the plastic bags if at all possible (my mother-in-law’s transfer station is now accepting bags, but I’ll need to ask them if these are appropriate when the time comes).

Summary:

It’s a quick way to smother weeds and extend your garden by a foot or two, takes five minutes to set up, great for a small kid’s garden or some last minute experimenting, but it’s not the way to go unless you’ve only got a small spot on the blacktop or you’re going to transplant the

Bag of top soil with x's cut into the bottom similar to the composted manure

Cut X’s into the bottom of the potting soil for drainage, stack with X’s facing DOWN on top of the open bag of composted manure.

items later.  That being said, we’ll see if I get a quick crop of lettuce before the frost.


Bag of potting soil with x's cut on the bottom and planting holes on the top

Place the potting soil with the X’s facing down onto the open bag of manure, cut holes into the top for planting

uber-clotche

HTTPS://catalog.extension.oregonstate.edu/ec1627 Great plans for a large clotche. In the northeast it would be wise to insert rebar into the pvc tubes and make them 16″ on center to hold the snow.

The Joys of a 4 Year Old Bed and a Potato Production Hack

several cut barrels used for potatoesWe’ll get to my four year old bed in a minute. My potatoes are beginning to grow in their “barrels” – hoops would be more appropriate. They are three 1/3 plastic barrels cut from a leaky 50 gallon water barrel and two of those tubs with the rope handles used for toys and such from the big box store with its bottoms cut out of them.

The First step was to place the potato seeds into the barrels with a little potting soil and a lot of grass clippings – easy to accomplish in the spring.  The potato seeds  began pushing the grass clippings up and off themselves reaching for the sun within a few weeks.

Barrel with potatoes sprouting - the soil is carefully hand shoveled around the plants.

Carefully shovel soil around the potatoes until about four inches remain above the soil

The second step to this potato production hack is to begin to fill the barrels up to 4″ below the level of the top leaves with alternating layers of soil and grass clippings.  We know where to get the grass clippings, but the soil was a bit of an issue initially.  I could cut into the swamp and dig out mucky soil, damaging tree roots and such, or I could plant a half row of potatoes and use the other half for the soil. This worked out extremely well!  (The third step in this process is to repeat step two until it’s time to harvest.)

By the season’s end the soil gets spread back out and (if I can schedule it in) a cover crop holds it until the frost, when the ground up leaves and the last of the lawn clippings top it off for the winter. It’s not like the soil gets “used up” in this process, just transferred. The holes where the soil is currently missing is filled in with fresh compost and grass clippings (note: the bear has a sweet tooth and dumps my composter regularly, so I’m now separating fruits and burying them in a fallow bed while the rest goes in the voids under the yard waste. It may take a little longer for the material to compost, but by season’s end it’s pretty well broken down. (see https://vimeo.com/52725424 for a similar way to compost)

Fill the rest to within 3 inches of the top leaves with grass clippings, both new and old.

Fill the remaining with grass clippings (alternate brown and green if you have them) up to 3 inches below the top leaves.

So – this four year old bed?  It’s a hugelkultur bed I’d started as many years ago. I buried a lot of rotting logs as well as new falls from the ice storm we’d had with a minimum amount of soil.  Over the years we found that squash liked it and many other plants did not initially.  This year was it’s turn to be the potato bed.  The thornless raspberries and weeds had quickly grew over the bed this spring, but when it came to weeding – it was like pulling a rope out of moist sphagnum moss.  The soil was so soft and gave so easily even dense root systems lifted out and a light shaking freed most of the remaining soil.  Some of the harder wood is still under the soil, but most of it has become a rich chocolaty loam.  This bed and the lasagna bed that had most of the clippings and other compost layered onto it are quick to weed and easy to plant.

The question remains though, what to do if the potatoes grow wildly beyond the confines of the barrels? Share your ideas in the comments below!


Tagged with: , ,

Gutter Gardens

Gutter Gardens are easy, handy, low maintenance gardens that can be hung on walls, fences or just out of reach of most varmints.  They make gardening for those that cannot stoop easy, too.  Here are a few examples I’ve found around the web:

  • Using gutters indoors with blackboard paint.

    from 1001Gardens.org. Indoor gutters and blackboard paint. Hmmmm.


  • Gutters as balcony planters with strawberries growing inside

    Life On The Balcony. Traced down from a spammy site. Great information.


  • Gutters repurposed as hanging planters

    Drill and Fill, then hang. Be sure to anchor the bottom one to the ground in case of heavy winds! Found on Buzzfeed.com


  • Gutters held aloft on welded rebar shaped like the letter T.

    From the House of Joyful Noise, a great set of planters. Would be concerned with our high winds, though


  • A-Frame freestanding gutter garden

    Free standing gutter garden on an A-Frame

  •  
    Gutters on a fence growing lettuce

    Picture on Make Magazine site shows gutters on a fence. Great use of small spaces


The upsides of gutter gardens are the efficient use of space.  The downsides are:

  1. Only shallow-rooted plants
  2. Dries out quickly
  3. Winter weather could damage what they’re attached to
  4. If against a wall the moisture could lead to wood rot.


Time’s up – Plant!

snow peas growing out doors by Ruth Hartnup
“Plant it or cover it: grow it or smother it.”

The days are warm enough for those who were complaining about the long winter and the frigid temperatures to start complaining about the heat.  That’s good – let them complain! Smile and walk on, but realize that’s how the weeds are feeling in your garden too! You can walk to your garden and complain about them and they’l just smile and keep growing.  If you’ve turned your beds, you’ve probably planted a number of weeds.  If you’ve just let them be, the wind-blown weeds are starting to root.  It’s time to take command of your garden.  In the spring you need to plant it or cover it: grow it or smother it.

Covering the garden will stop most of the spring time blow in seeds from getting into your soil, and anything you’re not growing will get smothered by what you cover it with.  Black plastic is ugl, messy and extremely effective at warming the soil and killing anything thaneeds the sun to grow.  After about thirtty days most weeds give up.  I say most because my experience has found some pretty tenacious weeds that will crawl to the edge of the plastic just to get a few leaves out and will then proceed to surround the garden, waiting patiently for me to remove the barrier.

Five sheets of wet newspaper covered by a layer of spent hay works just about as well, is easy to cut through to plant transplants and rots back into the soil within the season, it just doesn’t warm the soil as quickly.

The third way to minimize marauding weeds is to plant fast growing cool weather crops to shade them out.  This is the most productive way to use your garden, though it does mean you have to weed.  When the crops are ready for harvest (in as little as 14-30 days) you can pull them and cover the ground with the green tops or turn them under (such as radish), keep them working (cut-and-come lettuce and other greens), or let them go to seed, when the warm weather hits and replace them with transplants.  Bush beans and snow peas can work very well for shading out many of the weeds too.  Cultivate lettuce on the north side of the row (figuring the row is going east to west), and lean a cage or fence at a 45 degree angle from south to north to let the snow peas grow on.  The snow peas will be about as tall as the fence when the warm weather hits and your lettuce may get a couple of more weeks of growth before bolting. You can do this with pole beans too.  If the soil is warm enough and not too wet, you can also start your summer squash on the south side with cool crops on the north side providing the same effect.

Photo Credit:Ruth Hartnup


Taming the Canes

leaves forming on a raspberry cane

Photo Credit: majorbonnet on flickr.com

“If they’re green, I make sure they don’t lean; If they’re brown, I cut them down.”

We’ve been blessed with neighbors that cultivate wonderful thornless raspberries and wild birds that steal the same.  The birds are smart, too – they don’t eat them until they come to our yard… or, perhaps they DO eat them there and then come to our house for – other reasons…

Blackberries, blueberries and alpine strawberries also grace our yard, probably for the same reason.

Left to the elements and an inoperative lawnboy, I would be doing battle with canes both sharp and de-clawed to get to my garden like Prince Valiant trying to get to Sleeping Beauty (did she sleep in a garden bed?).

Several years ago I attempted to give the thornless variety a plot of their own, and they did poorly.  Last year I plowed them under with the lawn mower, then found myself busy – too busy to keep mowing them down), and they gave like Jersey cows.  This year, I’ve followed our neighbor’s lead by cutting them down to 2 ft tall, and the blackberry canes to 3 ft tall.  At this height the canes aren’t leaning over. Any of them that I do find leaning get cut down to nothing.  We have plenty, and they’ll probably start again.

Raspberries in containers in a garden

Raspberries in Containers

I’ve seen that people also grow these in containers (24 in. diameter minimum). I may try the thornless variety this way if I run across a lot of pots at the recycling center (as I often do every year) or I can find the ones that haven’t been recycled by my wife (we are sometimes competitive packrats: we’ll hold up a handful of this or an armful of that with a look – and then the other will admit to their err with a glance at the ground or a toe digging into the dirt, signalling surrender of what was once an impulsive treasure).

Instead of treating the canes with a standard 10-10-10 fertilizer, a similar natural based supplement or neglect, a spring feeding of 5-4-3 fertilizer is recommended by BackyardBerryPlants.com right around now, and another feeding right before they bloom.  The site also gives advice for mulching, etc., which I may do for the thornless, but the volunteers that paratrooped in (poopertrooped in?) may just get a feeding.

After the harvest, I’m supposed to cut the canes to the ground. Easy enough for the raspberries as long as my mower blade is sharp.  As for the blackberries which grow around the fringes of the yard I’ll probably continue with my spring cleaning method:

If they’re green, I make sure they don’t lean; If they’re brown, I cut them down.

Gardening 2015: Digging in the Snow…

Shovel and Pickaxe crossed on the ground. Tools for gardening in April in New England.

April Tools!

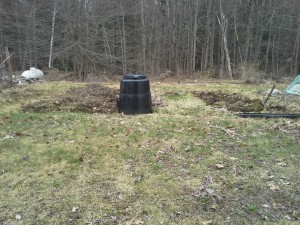
Dug out my first garden bed yesterday. Today – the end of April mind you – I was greeted to a pristine white coating of snow completely covering the back porch. I am beginning to appreciate the Japanese culture’s view that white does not so much signify purity, but death.  Until I shake my head and say under my breath “That’s why I don’t take my snow tires off until July.” and go make myself a cup of coffee.

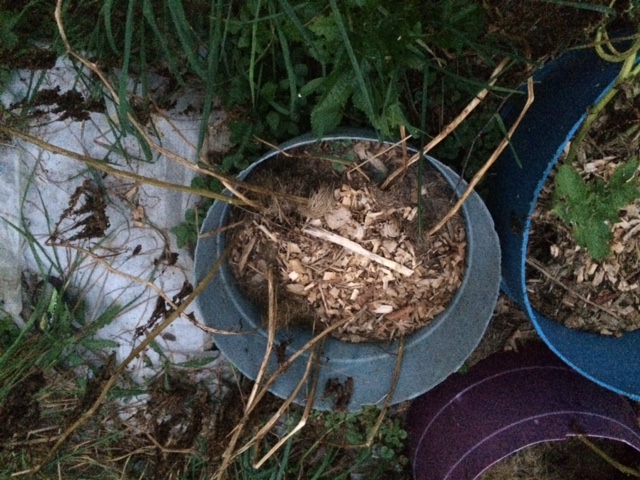
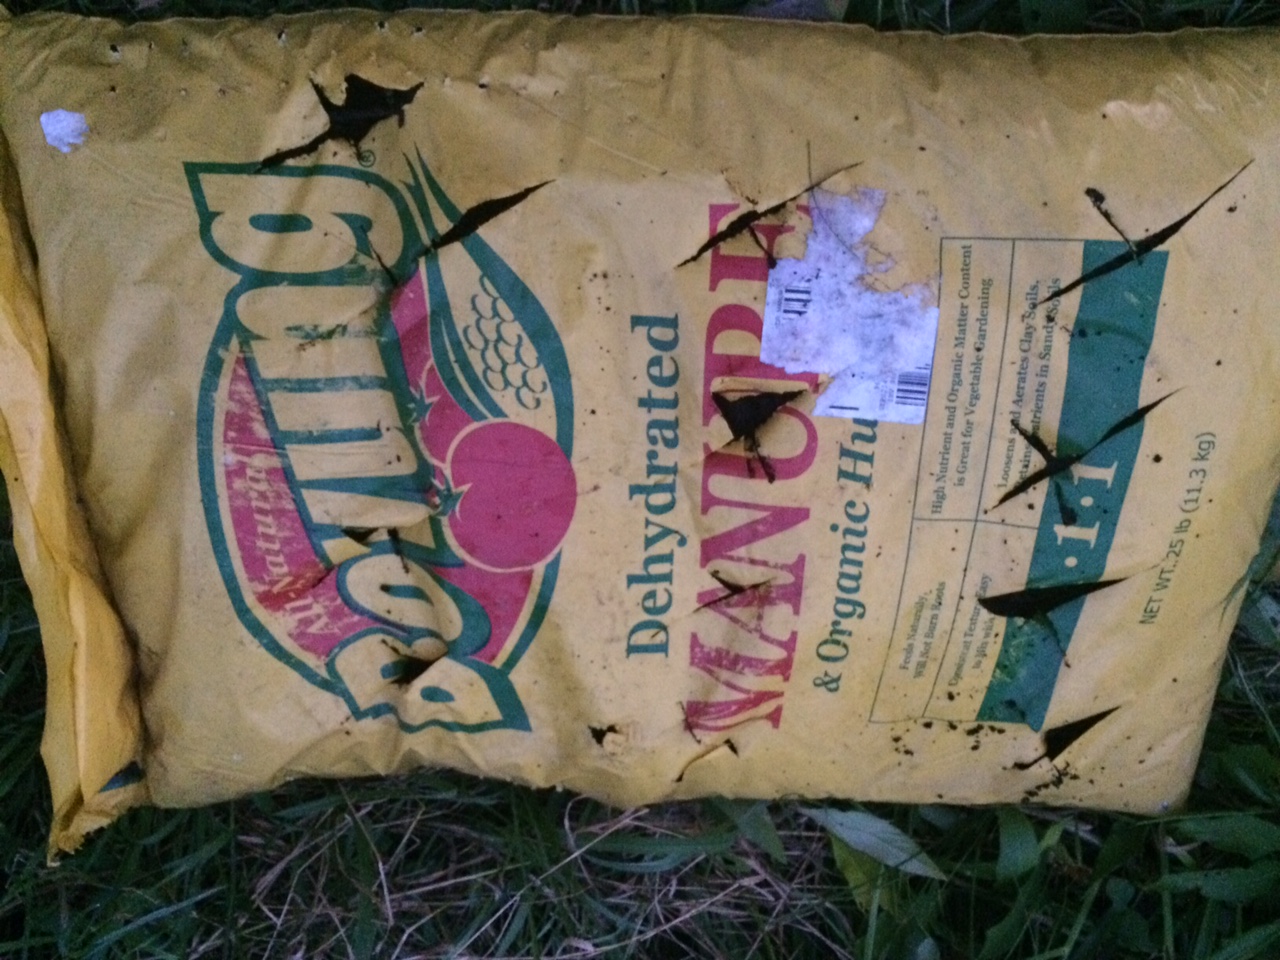
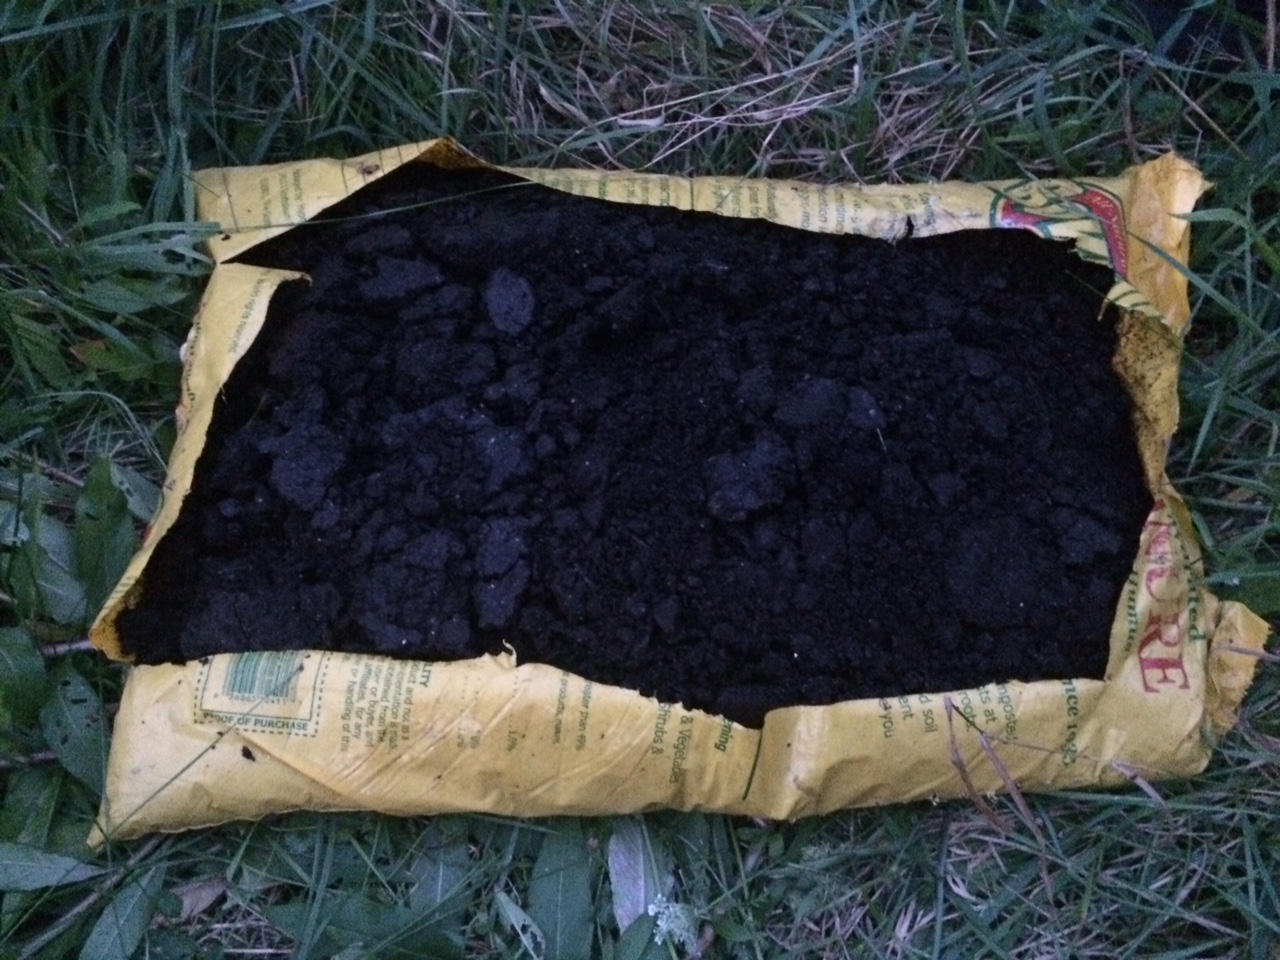
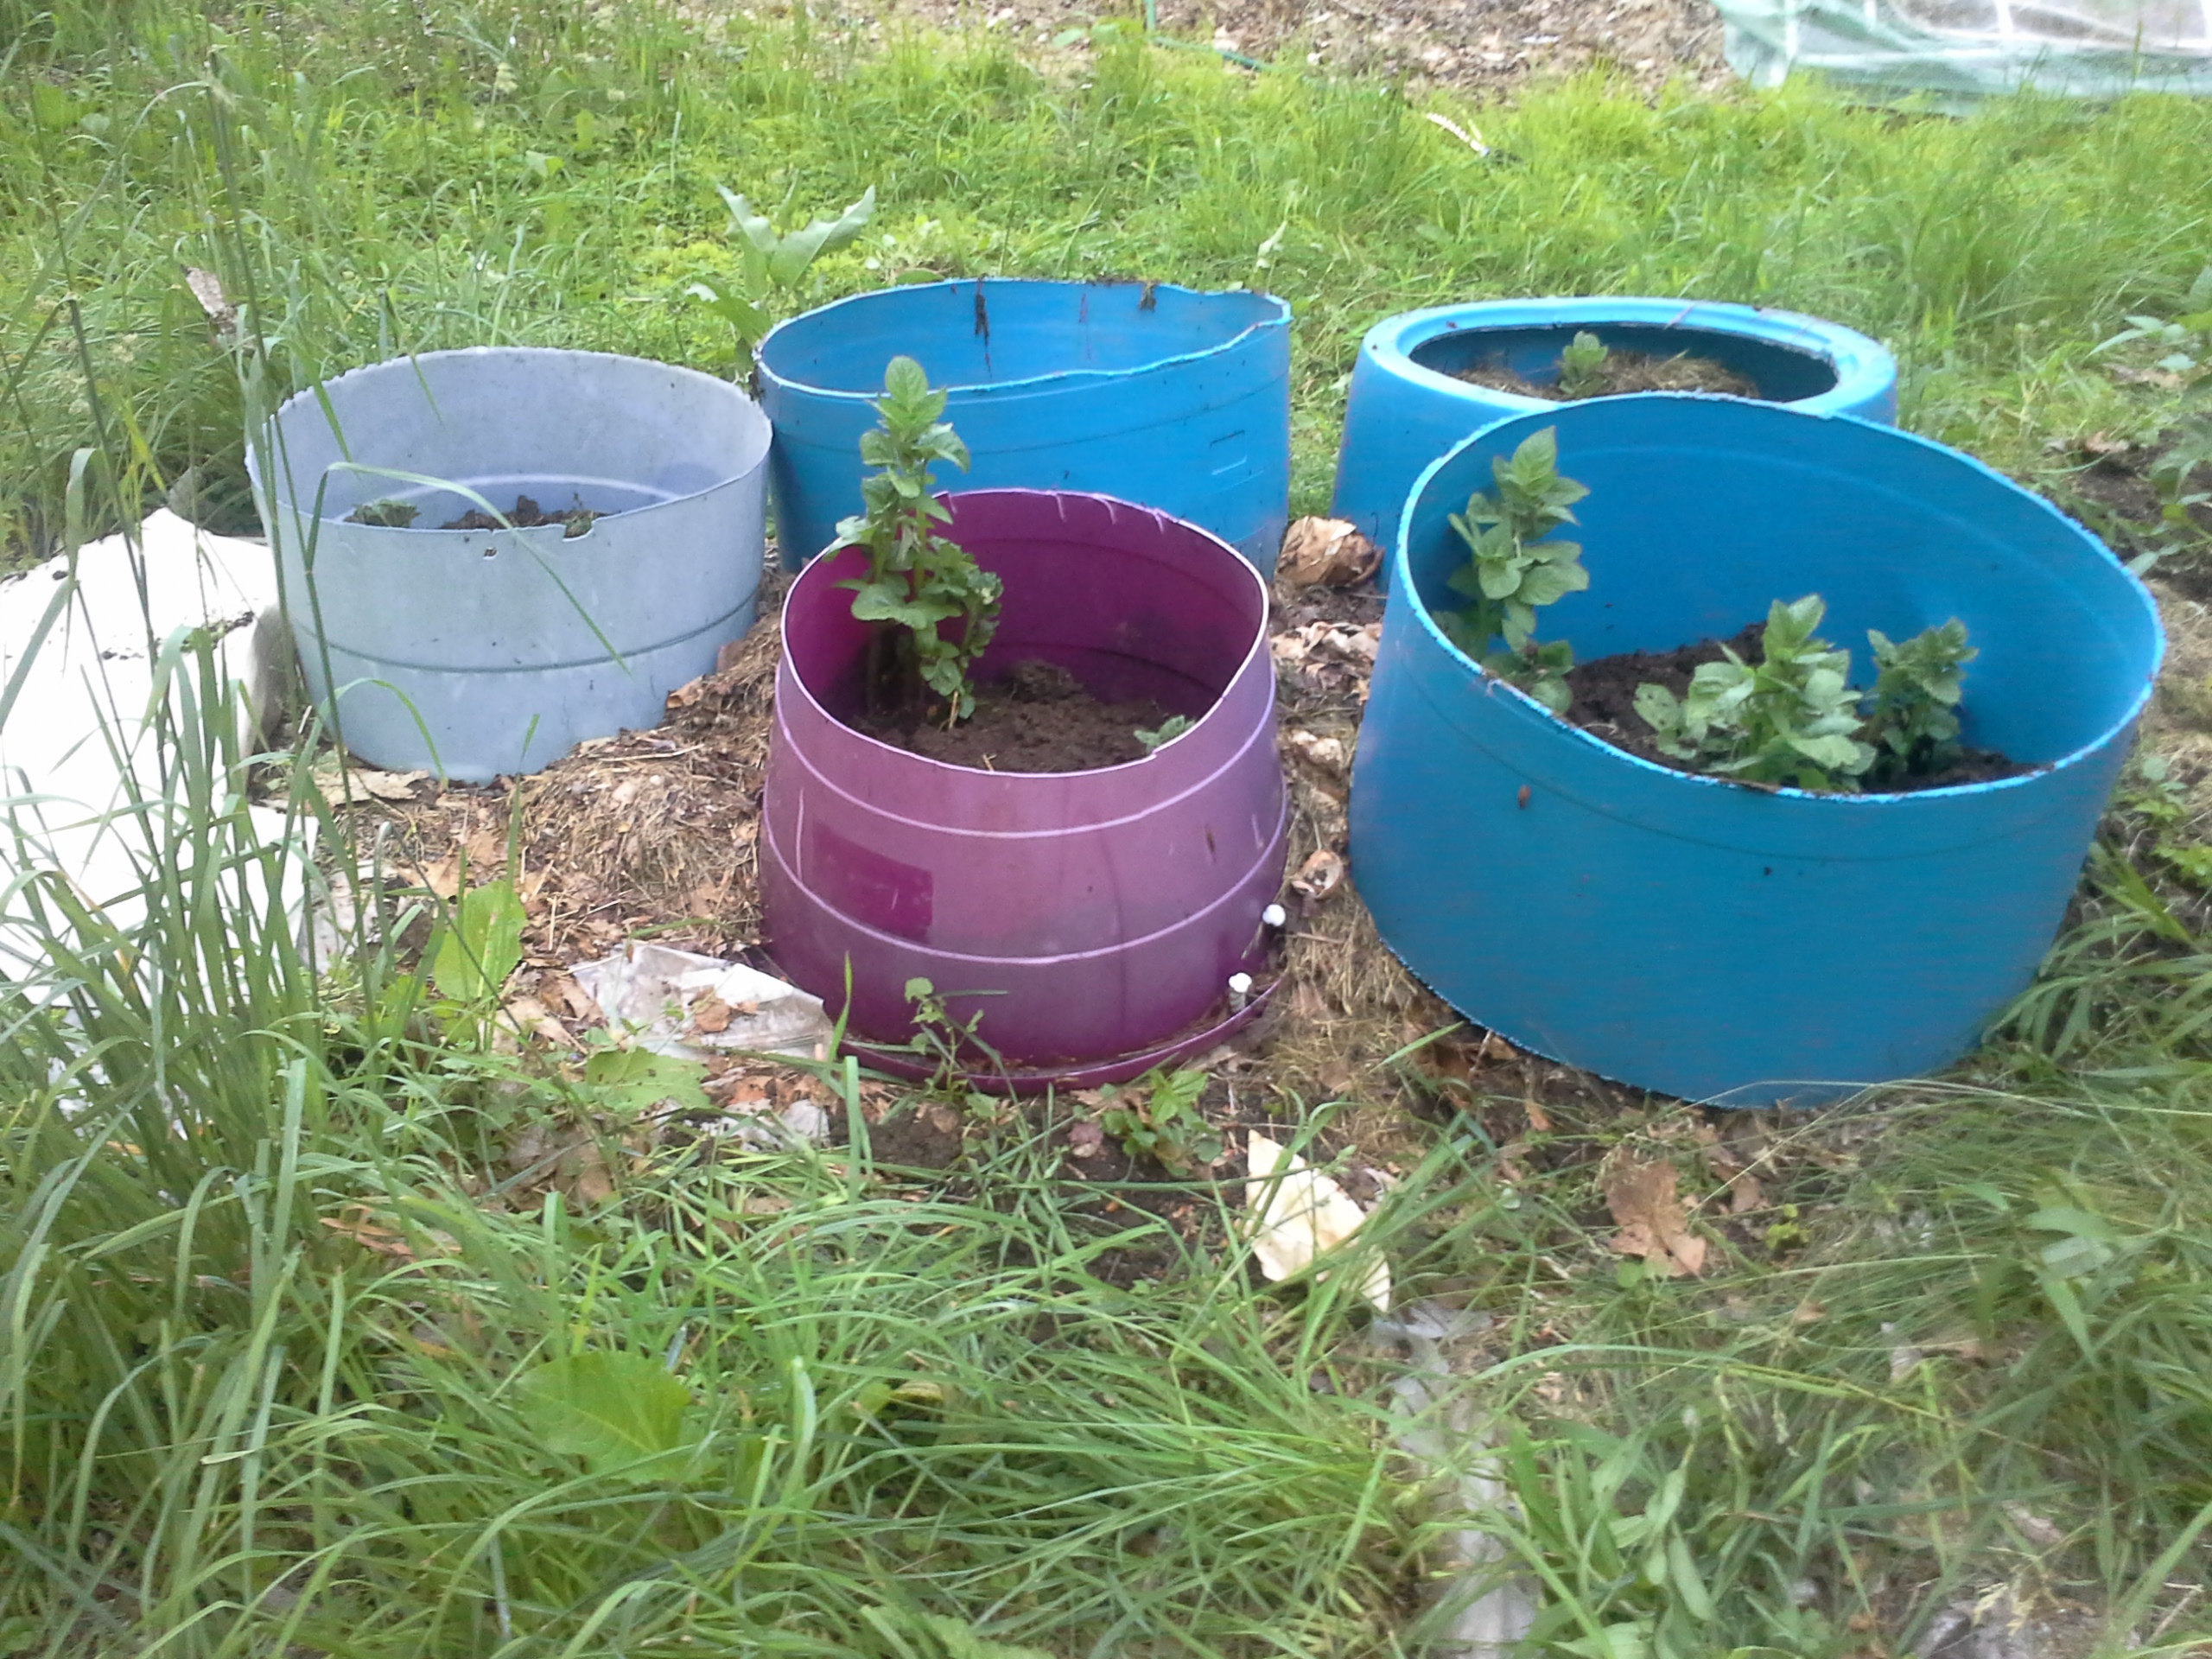
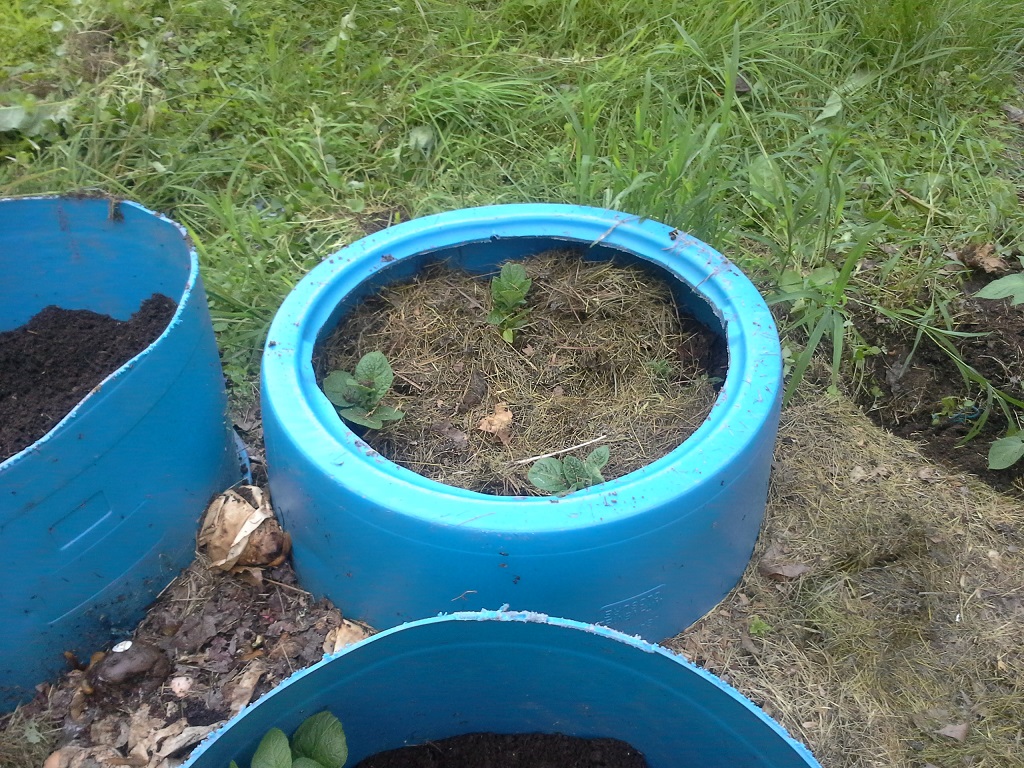
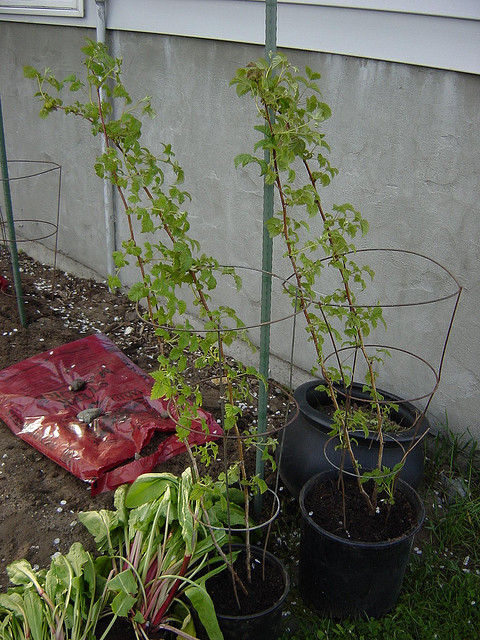
Last year most of the beds lay fallow, covered with their allotment of manure and the weeds kept in check by the grass clippings and other lawn detritus lovingly smothering most of them and giving the worms some great eats.

o/` o/`Two garden beds and the  Dalek ate the pear tree (along with the squab). o/` o/`

o/` o/`Two garden beds and the Dalek ate the pear tree (along with the squab). o/` o/`

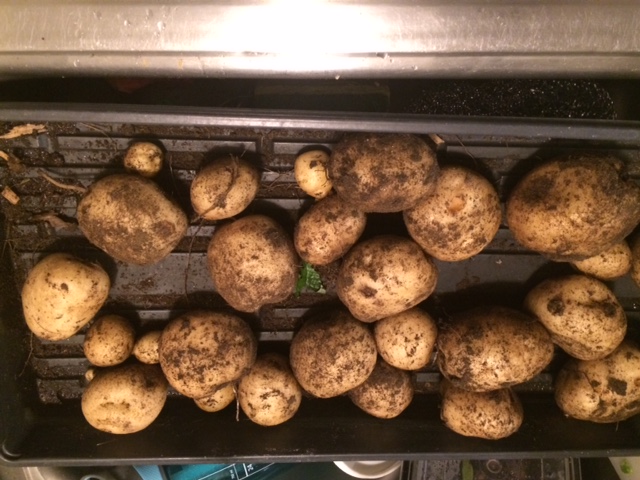
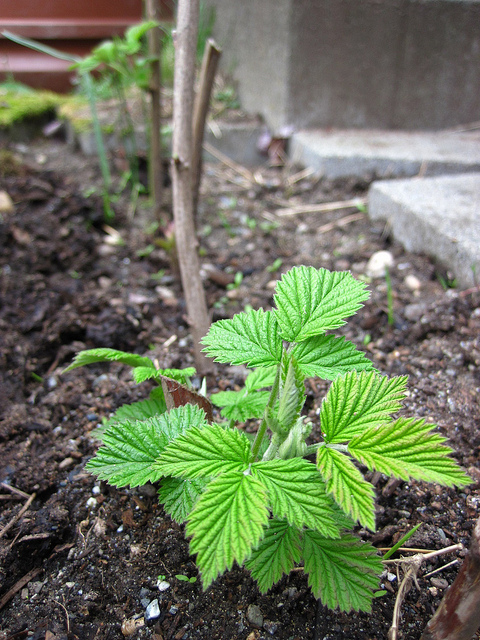
Between this and compost material along with several harvests from my comfrey plants, the digging was fairly good – until I dug into an experiment from three years ago and had to pull up a plastic barrier I’d set down during a dry spell below the bed.  It had decayed some, but mostly it held together slowing my progress. The next bed which I dug today went much quicker, the roots of the invasive grasses not reaching too deep, making it easy to invert.  With its roots in the sub-freezing air it shouldn’t live much longer and will add to the biomass that will feed the garden.

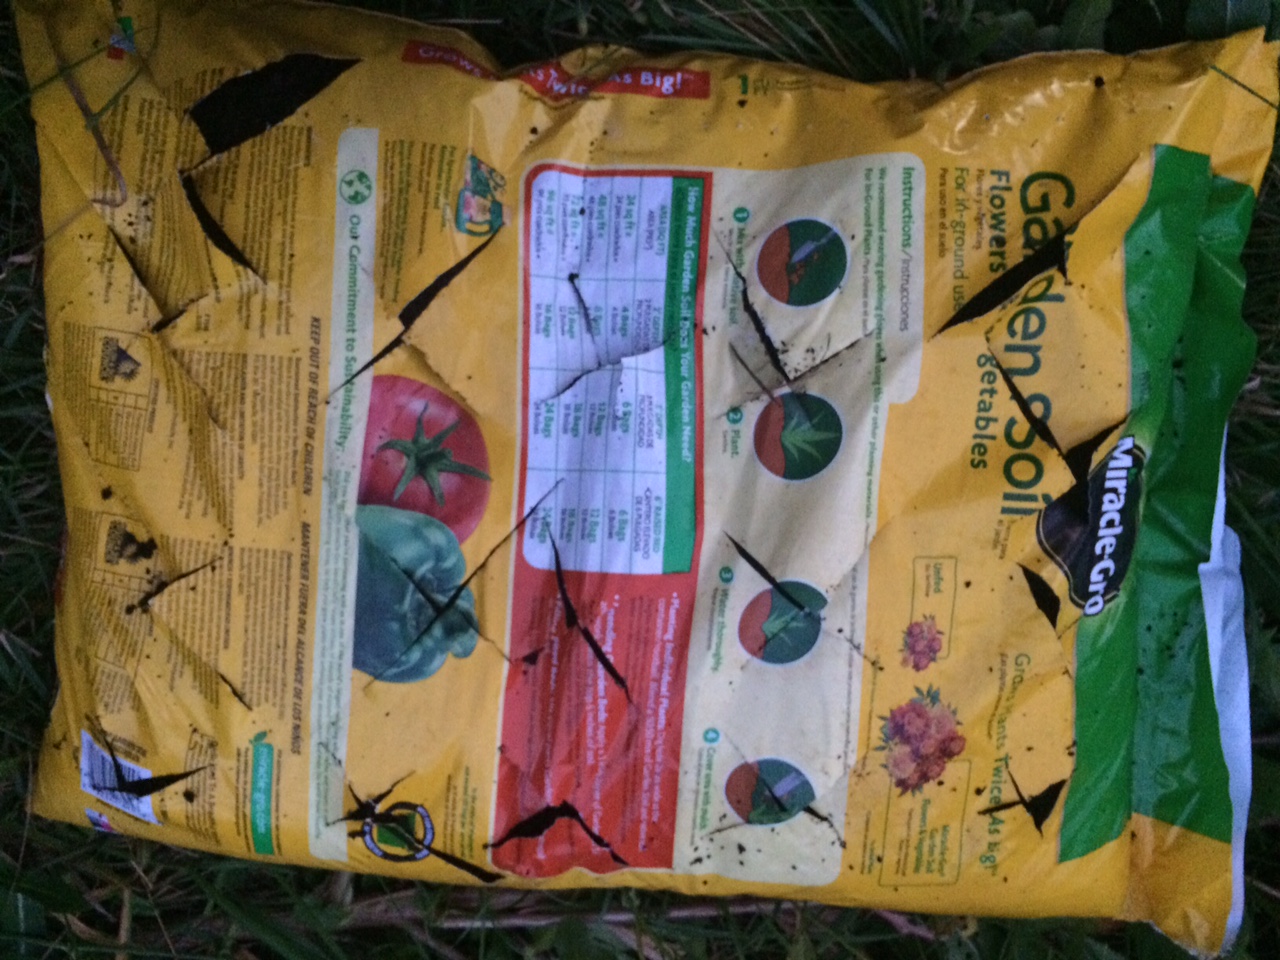
Warming my toes and digging through the internet as I do I wondered what I could find on two questions: how much should I grow per person, and how much space is this going to take?  I ran across a nice article by Brenda on “The Well Fed Homestead” who has compiled a nice list.  Easy to read and nicely layed out on her site it’s a great jumping off point.

If you like or plan to preserve your garden harvest, “Granny Miller” has a great chart that’s based on pounds, not plants: http://www.granny-miller.com/a-garden-planner-for-home-food-preservation/

Finally, the University of Kentucky has a chart for a family of four and how much to plant.  Realize that Kentucky encompasses zones 6a through 7a (see http://planthardiness.ars.usda.gov/PHZMWeb/ for your state).

Finding the plant’s growth requirements is fairly simple, just a little time-consuming as I look up each plant.

The way I like to make sense of the fact that everyone uses a different measurement is this:

  1. What does my family eat?
    1. tomatoes
    2. broccoli
    3. beans
    4.  lettuce
    5. onions
    6. garlic
    7. cucumbers
    8. carrots
    9. radish
    10. cilantro
    11. summer squash
    12. winter squash
    13. asparagus
    14. fruits
    15. berries
    16. etc.
  2. How many plants/person?
  3. How much room does each plant take up?
  4. Can I companion plant (lettuce with summer squash to shade them, carrots/tomatoes, asparagus/dwarf tomato bushes, etc)?
  5. Check Last Year’s garden map, rotate crops (not so much of a problem this year as last year was 80% fallow).
  6. What can I plant NOW?
    1. Indoors
    2. Outdoors – Sorry, no snow loving veggies, and the soil is still 42 degrees.

From here, I list them out in a spreadsheet:

  • Column A=Plant Name,
  • Column B=Minimum # of plants,
  • Column C=Ideal # of plants,
  • Column D=square feet needed per plant
  • Column E=Total Square Feet [=sum(D*C)] per plant.

I add a few extra columns beyond that just because I like a place for notes, and so I can eyeball the maturity date.

After that I’ll start mapping out the plants, figuring out what will be the best companions for what, and if I need to amend the soil as I will this year by adding more sand to the beds the carrots are going to be planted in.  This will all begin to unfold over the coming days and weeks, though.  Right now, with the snow nowhere in site (it must have been quite embarrassed for arriving so late and made a quick departure) and the soil too cold to plant in,  I can only turn the soil when it’s not raining, cover it with spent hay and newspaper to smother early weeds, and plant hubbards and other long season crops inside under the lights.

Top